How To Make A Montana Fake Id
2023-06-06 2023-06-06 15:38How To Make A Montana Fake Id

How To Make A Montana Fake Id
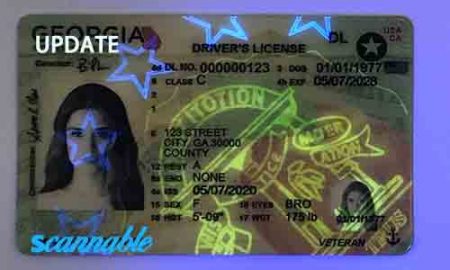
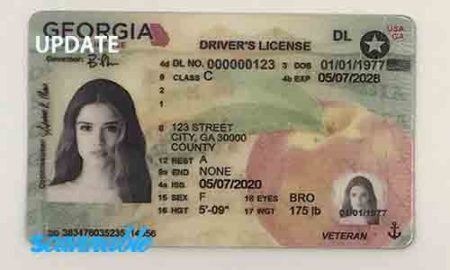
Georgia Fake Id
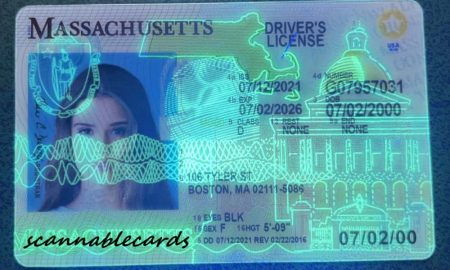
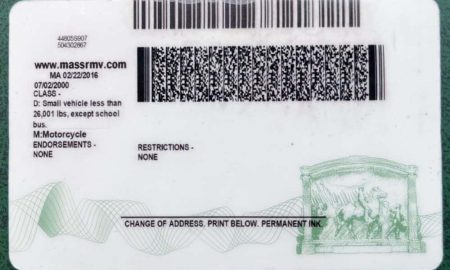
Massachusetts Fake Id
Minnesota Fake Id
North Carolina Fake Id
How to Make a Montana Fake ID
Many people have different reasons for wanting to obtain fake IDs. Perhaps you are underage and trying to go to a bar, club, or buy alcohol. Or maybe you just prefer to protect your identity and privacy. Either way, creating a fake ID could be a tricky task, but it can be successful with the right information, tools, and techniques. In this article, we will discuss the step-by-step guide on how to make a Montana fake ID from scratch.
Step 1: Research
Before you start making your fake ID, you need to do some research to understand what a real Montana driver’s license looks like. You can either find an image of a Montana driver’s license online or get ahold of the ID itself. It’s important to study every detail, including text fonts, style, color, and dates. The more you know about the design, the more realistic your fake ID will be.
Step 2: Get a Suitable Template
Once you have researched the details of a Montana driver’s license, you need to get a suitable template to work with. Fortunately, you can find a vast range of templates online that you can use as a base for your fake ID. There are several websites and online shops that can provide you with high-quality templates in different formats like PSD, PNG, JPEG, and PDF. These templates are customizable, meaning you can edit, add, or remove details according to your preference.
Step 3: Gather Necessary Materials
After getting a suitable template, you need to gather the necessary materials for your fake ID. Some of the essential tools and materials include:
• High-quality printer: You can use either an inkjet or laser printer, depending on your preference.
• Specialized paper: Use high-quality synthetic paper that is durable and feels like real plastic. The paper should also have a two-layer laminate with a core layer of Polycarbonate to make it hard to tear.
• Lamination machine: A suitable laminator can be a great tool to ensure your fake ID is well sealed and protected.
• Hologram and UV ink: You can either buy hologram stickers or print them yourself using a computer. Also, you need to use UV Ink that fluoresces under black light for added security.
• Cutting tools: Scissors, a paper cutter, or a precision knife can be necessary for cutting and trimming your fake ID.
• Glue and tape: Use a strong adhesive glue or double-sided tape to attach holograms to your fake ID.
Step 4: Edit and Customize the Template
Once you have acquired all the necessary materials, you need to customize your template. Use Adobe Photoshop or other image editing software to edit the template to include your details, including your photo, name, address, and date of birth. The details you include should be realistic and match the age you want to portray on your fake ID.
Step 5: Print the Template
After editing and customizing your template, you need to print it out. It is critical to use high-quality printing paper that can handle a high-resolution print. Be careful not to mess the alignment of the template during printing, as this can ruin the entire process of your fake ID.
Step 6: Add Holograms and UV Ink
After printing the template, you need to add holograms and UV ink to make your fake ID more realistic. You can either print the holograms or buy ready-made hologram stickers online or at craft stores. To apply holograms, you need to use a strong glue or double-sided tape, ensuring they are well-positioned. Additionally, using fluorescent inks will give your fake ID added security measures.
Step 7: Laminate the Fake ID
To ensure added durability and protection, you need to laminate your fake ID. A suitable laminator can be a great tool to make sure your fake ID is well sealed, looking glossy, and ready to use.
Step 8: Cut and Trim Your Fake ID
After laminating your fake ID, you need to use a cutting tool to trim it. Use either scissors, a paper cutter, or a precision knife to cut your fake ID in the exact size of a regular license. Be careful to avoid making rough edges or cuts to avoid suspicion.
Step 9: Test Your Montana Fake ID
The final step is to test your Montana fake ID. Use it in a controlled environment such as buying cigarettes or alcohol at a gas station or going to a bar. Be careful not to use it in places where there are high security checks to avoid being caught.
Conclusion
Creating a fake Montana ID takes time, effort, and precision. It is essential to prepare adequately, get the right materials, and follow the step-by-step process. However, creating and using a fake ID can be risky and illegal. It is essential to avoid breaking the law and using this article strictly for educational purposes.


